
Spring Security 연동 (1) (프로젝트 생성, 설정, 개념 및 이론)
Spring Security 연동 (1) (프로젝트 생성, 설정, 개념 및 이론)
프로젝트 생성 + 설정 Spring Security를 적용시킬 새 프로젝트 club을 다음과 같이 생성하고, build.gradle, application.yml 설정을 다음과 같이 작성해줘야한다. plugins { id 'org.springframework.boot' version '2.7.5' id
soohykeee.tistory.com
PasswordEncoder
먼저 PasswordEncoder를 설정해줄것이다. PasswordEncoder는 패스워드를 인코딩 즉, 암호화하는것이다. 현재 SpringBoot 2.0 이상부터는 반드시 PasswordEncoder를 지정해줘야한다.
PasswordEncoder는 인터페이스로 설계되어 있으므로, 이를 구현한 BCryptPasswordEncoder 클래스를 사용해야 한다.
BCryptPasswordEncoder는 'bcrypt'라는 해시 함수를 이용해서 패스워드를 암호화하는 목적으로 설계된 클래스이다. BCryptPasswordEncoder로 암호화된 패스워드는 다시 원래대로 복화하가 불가능하고, 매번 암호화된 값도 다르게 된다. 특정한 문자열이 암호화된 결과인지만을 확인할 수 있기에 원본내용을 볼 수 없어서 최근에 많이 사용하고 있다. 따라서 해당 클래스를 사용하여 프로젝트를 진행할 것이다.
앞서 만들었던 SecurityConfig 클래스에 @Bean을 통해 BCryptPasswordEncoder를 지정해준다.
package com.example.club.config;

import lombok.extern.log4j.Log4j2;
import org.springframework.context.annotation.Bean;
import org.springframework.context.annotation.Configuration;
import org.springframework.security.config.annotation.web.builders.HttpSecurity;
import org.springframework.security.config.annotation.web.configuration.WebSecurityConfigurerAdapter;
import org.springframework.security.crypto.bcrypt.BCryptPasswordEncoder;
import org.springframework.security.crypto.password.PasswordEncoder;

@Configuration
@Log4j2
public class SecurityConfig extends WebSecurityConfigurerAdapter {

    @Bean
    PasswordEncoder passwordEncoder() {
        return new BCryptPasswordEncoder();
    }


}
해당 기능이 말한대로 제대로 작동하는지 보기위해 테스트 코드를 작성해줄 것이다.
package com.example.club.security;

import org.junit.jupiter.api.Test;
import org.springframework.beans.factory.annotation.Autowired;
import org.springframework.boot.test.context.SpringBootTest;
import org.springframework.security.crypto.password.PasswordEncoder;

@SpringBootTest
public class PasswordTests {

    @Autowired
    private PasswordEncoder passwordEncoder;

    @Test
    public void testEncoder() {
        String password = "1111";

        String enPw = passwordEncoder.encode(password);

        System.out.println("enPw: " + enPw);

        boolean matchResult = passwordEncoder.matches(password, enPw);

        System.out.println("matchResult: " + matchResult);
    }
}
위와 같이 작성한 후 실행하면 콘솔창에서 sout을 통해 값들을 확인할 수 있다. 또한 앞서 말했던 것처럼 실행시마다 password="1111"이 인코딩된 enPw의 값이 매번 달라지는것도 확인이 가능하다.

AuthenticationManager 설정
암호화된 패스워드를 이용하기 위해서는 해당 암호를 사용하는 사용자가 필요하다. 이를 위해서 SecurityConfig에는 AuthenticationManager의 설정을 쉽게 처리할 수 있도록 도와주는 configure() 메서드를 @override해서 처리한다.
configure()는 파라미터가 다른 여러 개의 메서드가 있는데, 그중에서 AuthenticationManagerBuilder라는 타입을 파라미터로 사용하는 메서드를 구현한다. 파라미터로 사용하는 AuthenticationManagerBuilder는 말 그대로 코드를 통해서 직접 인증 매니저를 설정할 때 사용한다.
그전 Test코드를 통해 password="1111" 을 인코딩 했던 값을 복사해서 넣어준다.
package com.example.club.config;

import lombok.extern.log4j.Log4j2;
import org.springframework.context.annotation.Bean;
import org.springframework.context.annotation.Configuration;
import org.springframework.security.config.annotation.authentication.builders.AuthenticationManagerBuilder;
import org.springframework.security.config.annotation.web.builders.HttpSecurity;
import org.springframework.security.config.annotation.web.configuration.WebSecurityConfigurerAdapter;
import org.springframework.security.crypto.bcrypt.BCryptPasswordEncoder;
import org.springframework.security.crypto.password.PasswordEncoder;

@Configuration
@Log4j2
public class SecurityConfig extends WebSecurityConfigurerAdapter {

    @Bean
    PasswordEncoder passwordEncoder() {
        return new BCryptPasswordEncoder();
    }

    @Override
    protected void configure(AuthenticationManagerBuilder auth) throws Exception {
        // 사용자 계정은 user1
        auth.inMemoryAuthentication().withUser("user1")
                // 1111 패스워드 인코딩 결과
                .password("$2a$10$8BpLbC4X8EDdERRMY6bCLeBKYzXuW5ByPb7UZ1XgmVKoeQPrPDzJa")
                .roles("USER");
    }
}
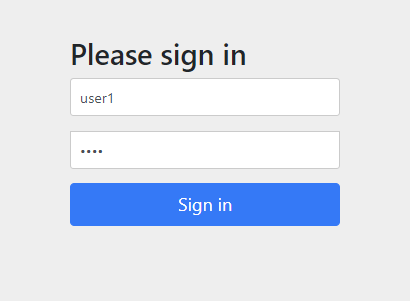
위와 같이 코드를 작성하고 '/sample/all' 에 접속 시 로그인 화면이 출력된다. 해당 화면에서 id="user1", password="1111" 을 입력하고 로그인하면 로그인이 성공적으로 되고, 정상적으로 원래의 사이트로 접속이 가능한것을 확인할 수 있다.
인가 (Authorization)가 필요한 리소스 설정
Spring Security를 이용해서 특정한 리소스에 접근 제한하는 방식은 크게 2가지가 존재한다.
- 설정을 통해 패턴을 지정하는 방법
- 어노테이션을 이용하여 적용하는 방법
2의 방법을 사용하는 것이 더 간단하지만 1의 방식을 이용해볼것이다.
@Configuration
@Log4j2
public class SecurityConfig extends WebSecurityConfigurerAdapter {

    @Bean
    PasswordEncoder passwordEncoder() {
        return new BCryptPasswordEncoder();
    }

    @Override
    protected void configure(HttpSecurity http) throws Exception {
        http.authorizeRequests().antMatchers("/sample/all").permitAll();
    }

    @Override
    protected void configure(AuthenticationManagerBuilder auth) throws Exception {
		// ... 생략
    }
}
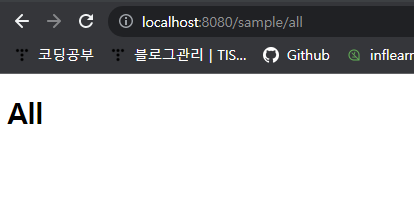
http.authorizeRequests()로 인증이 필요한 자원들을 설정할 수 있고, antMatchers()는 '~~/~' 와 같은 앤트 스타일의 패턴으로 원하는 resource를 선택할 수 있다. 마지막으로 permitAll()은 말 그대로 '모든 사용자에게 접근을 허락' 한다는 의미이다. 따라서 '/sample/all'에 접속 시 로그인 하지 않아도 접근이 가능한것을 확인할 수 있다.
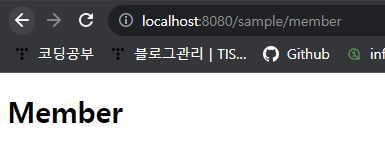
위의 방식을 응용하여 '/sample/member' 경로에는 권한(Role)이 'USER'인 사용자만이 접근이 가능하도록,
'sample/admin' 경로에는 권한(Role)이 'ADMIN'인 사용자만이 접근이 가능하도록 해주고싶으면 다음과 같이 작성해주면 된다.
    @Override
    protected void configure(HttpSecurity http) throws Exception {
        http.authorizeRequests()
                .antMatchers("/sample/all").permitAll()
                .antMatchers("/sample/member").hasRole("USER")
                .antMatchers("/sample/admin").hasRole("ADMIN");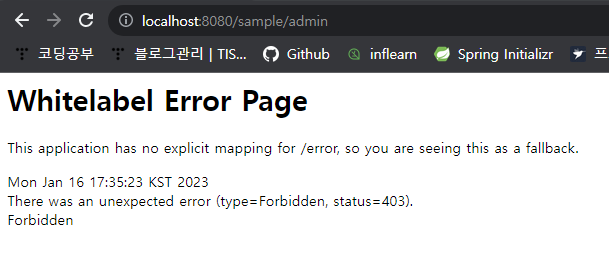
}이처럼 작성 후 'sample/member' 경로로 접근 시 앞서 user1에 Role을 'USER'로 설정해주었기에 정상적으로 접근이 가능하고, '/sample/admin' 경로로 접근 시 'Access Denied' 403 Error 가 발생하는 것을 확인할 수 있다.
위처럼 Access Denied 에러가 발생 시, 즉 인가/인증 절차에서 문제가 발생했을 때 로그인 페이지를 보여주도록 설정해주기 위해 http.formLogin 을 작성해준다
@Override
protected void configure(HttpSecurity http) throws Exception {
    http.authorizeRequests()
            .antMatchers("/sample/all").permitAll()
            .antMatchers("/sample/member").hasRole("USER")
            .antMatchers("/sample/admin").hasRole("ADMIN");

    http.formLogin();		// 인가,인증에 문제시 로그인 화면 출력
}
CSRF 설정
[개념] CSRF란 무엇인가?
CSRF란 무엇인가? CSRF는 Cross Site Request Forgery의 약자로, 사이트간 요청 위조를 말하는데 웹 취약점 공격 중 하나이다. 사용자가 자신의 의지와는 무관하게 공격자가 의도한 행위 (데이터 수정, 삭
soohykeee.tistory.com
Spring Security는 기본적으로 CSRF라는 공격을 방어하기 위해서 임의의 값을 만들어서 이를 GET 방식을 제외한 모든 요청 방식(POST, PUT, DELETE)등에 포함시켜야만 정상적인 동작이 가능하다.
위의 미리 작성한 링크에도 쓰여있지만 다시한번 CSRF에 대해 간단히 정리해보겠다.
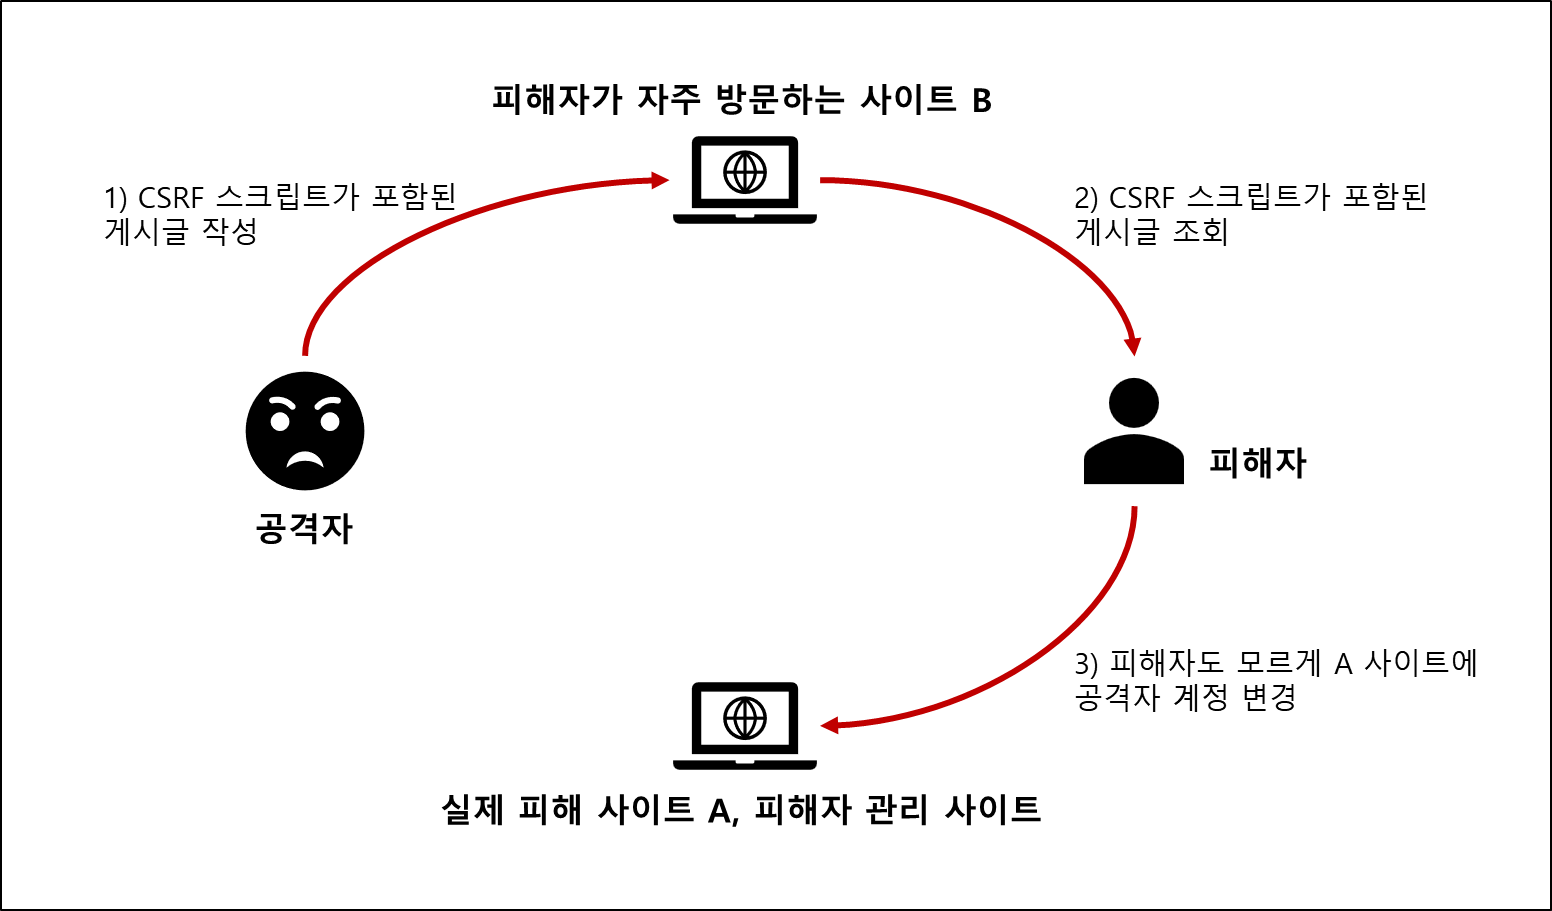
CSRF 공격은 '사이트간 요청 위조'라고 번역할 수 있는데, 서버에서 받아들이는 정보가 특별히 사전 조건을 검증하지 않는다는 단점을 이용하는 공격 방식이다. 예를들어 설명하자면, 인터넷 A라는 사이트가 있다고 가정해보자. A 사이트에는 특정 사용자의 등급을 변경하는 URI가 존재하는 것은 공격자가 알았고, 해당 URI에는 약간의 파라미터가 필요하다는 것을 알았다고 가정한다.
'www.aaa.xxx?update?grade=admin&account=123'
공격자는 A사이트의 관리자가 자주 방문하는 B사이트에 <img> 태그나 <form>태그를 이용해서 위의 등급을 변경하는 URI를 추가한 게시물을 작성하여 노출시킨다.
<form action = ''www.aaa.xxx?update?grade=admin&account=123'>
<input type = 'submit' value='축 이벤트 당첨'>
</form>
또는
<img src='www.aaa.xxx?update?grade=admin&account=123'>
위의 코드를 추가한 스크립트를 A사이트의 관리자가 클릭 시, 만약 A사이트에 로그인이 되어있는 상태라면 A사이트의 서버 입장에서는 로그인한 사용자의 정상적인 요청으로 해석하여 공격자가 admin 등급으로 수정이 되는것이다. CSRF공격은 서버에서 받아들이는 요청을 해석하고 처리할 때 어떤 출처에서 호출이 진행되었는지 따지지 않기 때문에 생기는 허점을 노리는 공격 방식이다.
해당 프로젝트에서는 외부에서 REST 방식으로 이용할 수 있는 보안 설정을 다루기 위해서 CSRF 토큰을 발행하지 않는 방식으로 설정하기 위해 SecurityConfig에 http.csrf().disable() 해줄것이다.
@Override
protected void configure(HttpSecurity http) throws Exception {

    // ... 생략

    http.formLogin();
    http.csrf().disable();
}
logout 설정
@Override
protected void configure(HttpSecurity http) throws Exception {
    //... 생략

    http.formLogin();
    http.csrf().disable();
    http.logout();
}
logout() 에서 주의해야 할 점은 CSRF 토큰을 사용할 떄는 반드시 POST 방식으로만 로그아웃을 처리한다는 점이다. CSRF 토큰을 이용하는 경우에는 '/logout' 이라는 URL을 호출했을 때 <form> 태그와 버튼을 구성된 화면으로 나온다.
반면에, CSRF 토큰을 disable()로 비활성화 시키면 GET 방식('/logout')으로도 로그아웃이 처리된다.